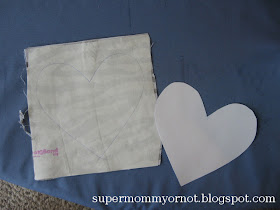
Gather your supplies: A scrap of fabric, scissors, Wonder Under Lite (or another type of lite heat n' bond), iron, and ironing board
Start by decided what shape (or letter, number, etc) you want to applique. Freehand or trace the shape onto a piece of cardstock and cut it out.
Cut out a piece of fabric big enough for the applique (perfect way to use up scraps!) and iron it flat. Cut out a piece of Wonder Under that's the same size as the fabric. Using the directions on the package, iron the Wonder Under onto the backside of the fabric. Trace the applique shape onto the paper backing of the Wonder Under and cut it out. If the shape is directional (i.e. a number or letter), make sure to trace it mirror image! I've had to redo many appliques because I forgot to flip the cardstock over before tracing.
Peel the paper backing off of the shape and, using the package directions, iron it onto whatever you are appliquing. Make sure that it's placed exactly where you want it before ironing it in place.
I usually use a zig zag stitch, but if you don't mind a little fraying around the edges, you can also use a straight stitch to secure the applique. Sew all the way around the applique, stopping to lift the foot and turn the fabric as needed. Sew a couple of straight stitches at the beginning and end to secure the stitching.
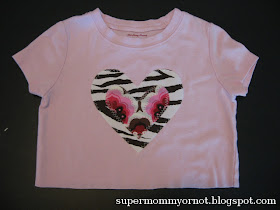
Finished!

Thanks so much for visiting Supermommy!...Or Not. Please take a moment to "like" me on facebook" and follow me on Twitter!


No comments:
Post a Comment
Thank you for your comment! I read and appreciate every one.